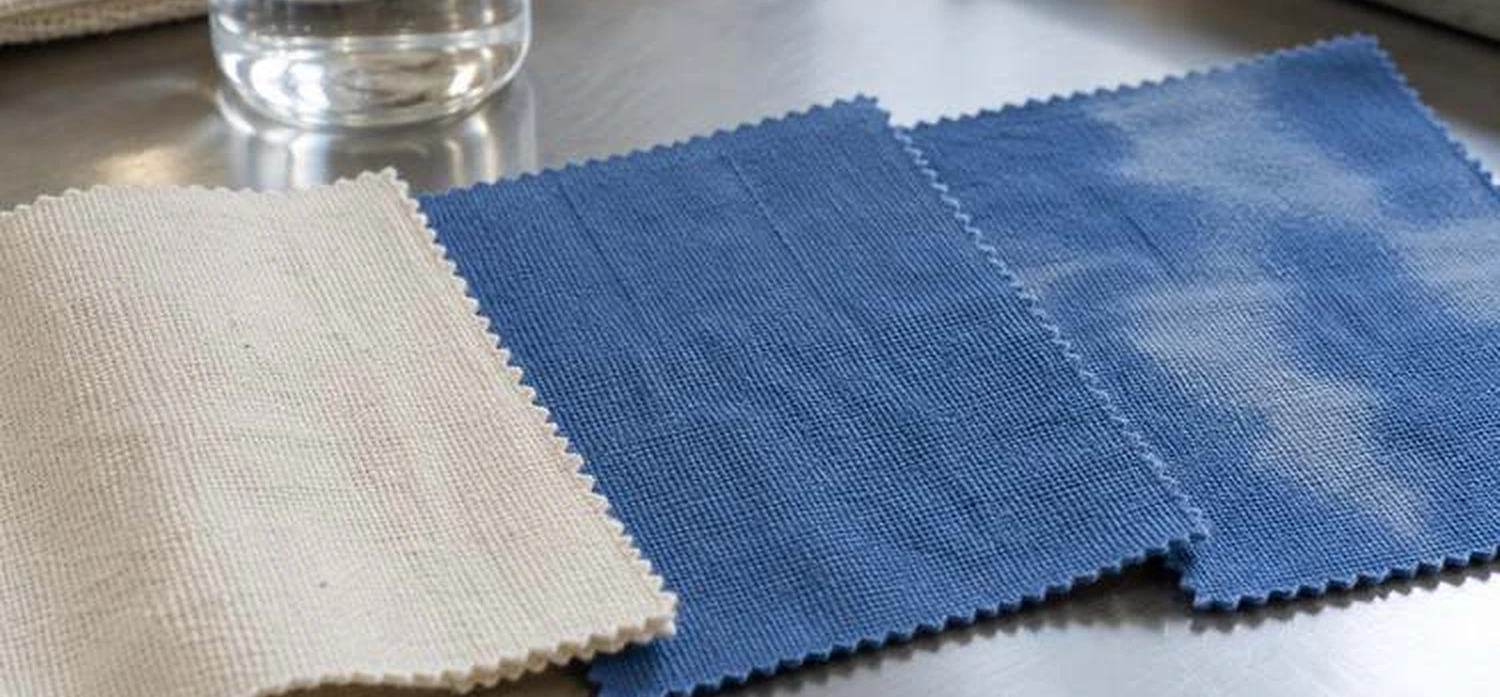
Uneven cotton dyeing often sends a production team straight back to the dye recipe. Pale patches appear, one side of the fabric is darker, or a familiar shade suddenly becomes difficult to reproduce. Before replacing the dye, check whether the cotton entered the dye bath in a consistent condition.
Residual size, oils, peroxide, and alkali can affect dyeing performance. Uneven chemical application or inadequate washing can also create differences that changing the color recipe will not resolve.
Use the following seven checks for cotton fabrics, with additional considerations for sized woven goods, knits, and package yarn.
Identify the Defect
Keep samples from affected and acceptable areas, label the locations, and record the material lot, machine, pretreatment route, and actual processing conditions.
Use the defect pattern to prioritize checks; confirm the cause through testing.
Compare the affected batch with a successful batch of similar material. Look beyond the recipe: a change in knitting oil, fabric construction, load size, or water supply may explain why a previously reliable process behaves differently.
Seven Pretreatment Checks
1. Absorbency
Test samples from the edges and center at several positions along the fabric. Repeat measurements under consistent conditions and compare both the average and the variation between locations.
AATCC TM79, Test Method for Absorbency of Textiles addresses water absorbency in yarns, fabrics, and garments. Follow the complete method when reporting results against it. Identify an informal production screening test separately.
Keep specimen preparation, conditioning, test water, and measurement conditions consistent. Do not directly compare wet production samples with dry laboratory references.
A passing result at one location does not establish uniform preparation throughout a roll. Rapid wetting also does not confirm complete removal of size, oils, or other residues.

2. Residual Size
For sized woven cotton, identify the size formulation before selecting the removal process and test. Starch, synthetic polymers, and blended formulations need different verification approaches.
An iodine-based test can detect residual starch-containing size, but it cannot confirm removal of every synthetic sizing material. Where a mixed formulation is used, check the components that the starch test does not cover.
Amylase breaks down starch into more soluble components. Effective washing must then remove those components from the fabric. Review enzyme operating conditions and wash-off performance before assuming that a higher enzyme dose is the solution.
Unsized cotton knits may need oil removal and scouring without a desizing step.
3. Scouring and Oil Removal
Scouring prepares cotton by removing natural impurities and manufacturing residues that interfere with wetting and subsequent processing. For knitted goods, identify the knitting oil as well as the fabric construction.
Check whether the process achieves three things:
Removal: Impurities are released from the material.
Dispersion: Removed contaminants remain dispersed in the bath.
Wash-off: Adequate washing temperature and water exchange remove contaminants instead of allowing them to remain on or redeposit onto the fabric.
Match cotton scouring agents to the contamination, alkali conditions, and machinery. Evaluate alkali stability, penetration, emulsifying performance, foam behavior, and compatibility with the other bath components.
For cotton and cotton-blend cold-pad-batch pretreatment, Sylic P1200 combines scouring and penetration with alkali stability and anionic/nonionic character. The reference dosage for this route is 7–15 g/L. Use these properties to assess suitability for alkaline preparation, then confirm compatibility and cleaning performance under the actual bath conditions. Other processing routes require their corresponding dosage guidance.
4. Bleaching and Peroxide
Where bleaching is required, compare base color across representative samples. Substrate color differences are particularly relevant to pale and bright shades.
Whiteness and absorbency measure different aspects of preparation. A white-looking fabric can still contain residues or wet inconsistently.
After hydrogen peroxide bleaching, test for carryover before adding a peroxide-sensitive dye system. Use a validated procedure with suitable sample preparation and detection range. Include material extracts or another validated fabric assessment where required; a bath reading alone may not represent the substrate.
Catalase can remove residual peroxide by decomposing it into water and oxygen. Apply it within the product’s specified pH, temperature, time, and peroxide-loading conditions. A compatible chemical removal route may also be appropriate, but any remaining treatment chemicals must be compatible with the next stage.
Retest after treatment to verify acceptable peroxide removal.

5. Residual Alkali and pH
Measure representative fabric extracts as well as the final rinse bath. Use a defined extraction procedure so that results from different samples remain comparable.
Fabric extract pH does not quantify all residual alkalinity. Use an appropriate additional alkalinity assessment when alkali carryover remains a concern.
In reactive dyeing, uncontrolled alkali carryover can alter the intended starting conditions and cause fixation to begin earlier than planned. Establish the required condition before dye addition for the selected process.
Do not use pH 7 as a universal release target. The initial dye-bath conditions and the later alkaline fixation stage have different requirements.
When extract results vary across the material, investigate washing and neutralization distribution before increasing the acid dose. More acid will not reliably correct uneven delivery.
6. Water and Metals
Check production water after a supply change, treatment adjustment, or unexplained shift in results. Clear water can still contain dissolved ions that affect processing.
Calcium and magnesium contribute to hardness and can interfere with some cleaning systems. Iron and copper can accelerate peroxide decomposition during bleaching. Relevant contamination may come from the cotton or equipment as well as the water.
Choose sequestering agents for textile pretreatment according to the measured ions, bath conditions, and compatibility requirements. Where suspended impurities are present, assess dispersing performance alongside metal binding.
For iron-related concerns in continuous pretreatment, evaluate Sylic P1501, an anionic dispersing sequestering agent with iron-chelating properties and a pretreatment reference dosage of 0.8–2.5 g/L. Its combined dispersing and chelating functions are relevant when metal contamination occurs alongside removable impurities. Treat the range as trial guidance, and confirm the working dose against measured contamination and the current technical data sheet.
7. Process Uniformity
Review how the pretreatment reached the material, not just which chemicals were used.
Exhaust processing: Check loading, liquor ratio, circulation, dosing sequence and calibration, measured temperature rise, and holding time.
Continuous and pad-batch processing: Check wet pickup across the width, nip condition, liquor concentration, dwell time, and washing efficiency.
Package yarn processing: Check winding consistency, package density, and liquor-flow distribution.
Compare actual records with approved settings and check maintenance changes since the last successful batch.
For mercerized cotton, also review mercerization consistency when the defect suggests differences in dye affinity. Good absorbency alone does not rule out this source of variation.
Verify Before Changing the Dye
Use the test results to decide what happens next.
Compare matched material from the same lot under the current and proposed preparation routes. Keep the dye recipe and dyeing conditions unchanged, include an acceptable reference, and change one preparation variable at a time where practical.
Evaluate samples after the same washing, drying, and conditioning procedure. Check color variation between locations as well as the overall shade. Use consistent viewing or instrumental measurement conditions, and confirm required fastness before approving a production change.
Build release limits from the test method, supplier guidance, and successful production history for the relevant material and process. Record sample locations, results, and corrective actions.
When preparation is consistent but the defect remains, investigate dye compatibility, dissolution, salt and alkali dosing, circulation, temperature, and fixation. Replacing the dye becomes a sounder decision when trials show that the dye system contributes to the problem.
Request a targeted pretreatment trial recommendation with the fabric construction, contamination history, machinery, water analysis, current recipe, and failed test results.
FAQ
What Causes Uneven Cotton Dyeing?
Common causes include inconsistent preparation, fiber or yarn variation, uneven liquor flow, and poorly controlled chemical dosing or fixation. Use the defect pattern to select tests that distinguish these possibilities.
How Do You Check Cotton Absorbency?
Test multiple locations across the width and length under consistent conditions. Compare repeat measurements with an acceptable reference and validated limits, including variation between locations.
Does All Cotton Need Desizing?
No. Desizing is needed for material carrying size that must be removed before further processing. Unsized cotton knits may need oil removal and scouring without desizing.
Can Residual Peroxide Affect Dyeing?
Yes. Peroxide carryover can affect susceptible dyes and shade reproducibility. Use appropriate testing after peroxide bleaching, apply a compatible removal treatment where needed, and verify the result before dye addition.
When Should You Change the Dye?
Consider a change when preparation meets validated limits and controlled trials identify a dye-related problem. Correct confirmed pretreatment failures before evaluating a replacement.